


The global energy bar market is worth over $4 billion and yet, most bars on the shelves are packed with more sugar than a dessert.
Let that sink in.
Now, imagine having a snack that fuels your body and aligns with your health goals. One, you can actually pronounce all the ingredients in it. That’s the beauty of homemade energy bars recipe (wink, wink). They're simple. They're customizable. And the best part? You’re in charge.
Whether you’re hitting the gym, running between meetings, or just need a mid-afternoon pick-me-up, these DIY energy bars will have your back. No preservatives, no mystery ingredients—just real, wholesome stuff.
Let’s break it down.
Build Your Bar: What Goes In
Your Crunchy Foundation
Here’s what you need to get the perfect chewy-meets-crunchy vibe:
-
Nuts – Almonds, walnuts, cashews. Full of good fats and protein
-
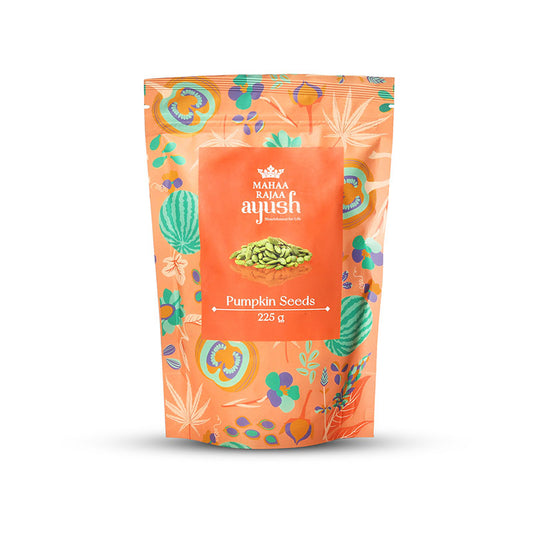
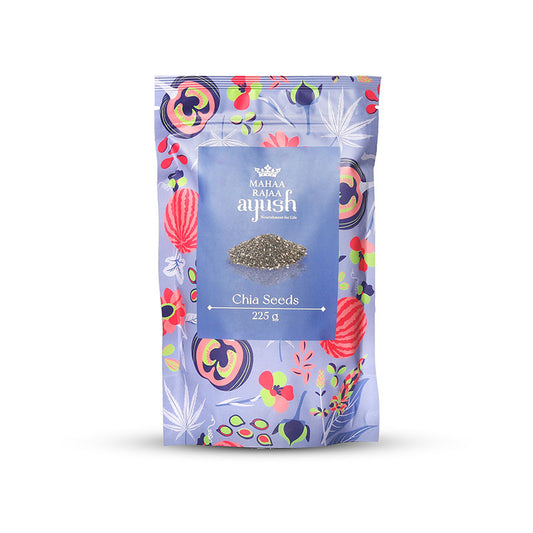
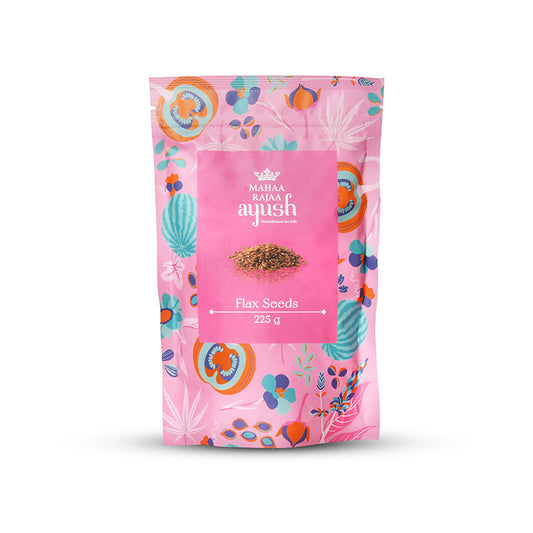
Seeds – Pumpkin, flax, sesame. High in fiber and omega-3s
-
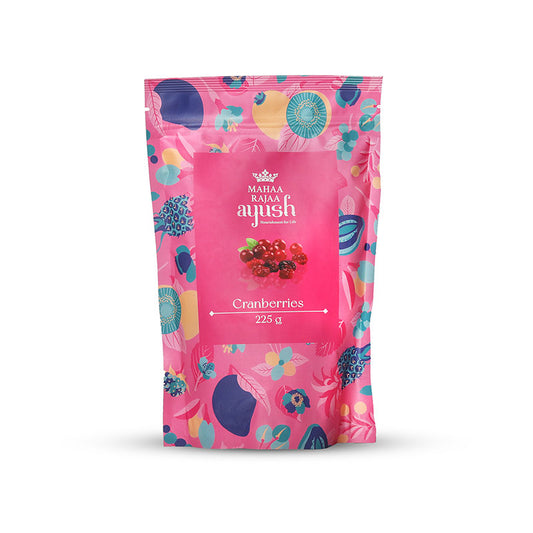
Dried fruits – Think dates, apricots, or cranberries. They bring natural sweetness and minerals.
A pro tip from a regular healthy snacker: Stick to unsweetened dried fruits to keep it clean.
Special Binding Agent So That It All Sticks Together!
This is where things get gooey but in a good and healthy way.
-
Nut butter - Almond or peanut butter gives creaminess + protein.
-
Natural sweeteners - Honey, jaggery, maple syrup, or for sugar-free folks: mashed bananas or date paste.
Optional, but Highly Recommended: The Fun Extras
Want chocolate vibes? Toss in some cacao nibs. Prefer tropical? Coconut flakes it is! Still feel like adding more go for-
-
Rolled oats – Adds heartiness and slow-burning energy.
-
Spices – A dash of cinnamon, nutmeg, or even cardamom goes a long way.
-
Protein powder – Level up with a scoop of your favorite plant or whey protein.
Step 1: Soak Your Dates
You would only want them plump and sticky because this makes them the perfect natural binder. So, start by first soaking your pitted dates in a bowl of hot water for 10 minutes. This softens them up for easy blending. Remember, If your dates are already soft, you can skip this step, but soaking really helps bring out their sweetness.
Step 2: Chop Your Base
In a food processor, pulse your nuts and seeds until coarsely chopped (TIP: Keep some texture as we’re not making nut butter here).
You can also aim for a chunky mix—some big bits are great for crunch, while smaller pieces help the bars hold together better.
Step 3: Mix It All Up
Drain and blend the dates into a thick paste. In a big bowl, mix it with your chopped nuts, seeds, a binding agent (nut butter, sweetener), and any extras. Use your hands. It’s messy but fun.
Make sure everything is well coated, and don’t be afraid to taste as you go. If the mixture feels too dry, add a spoonful of nut butter or a splash of warm water to help it come together.
Step 4: Press and Pack
Line a pan with parchment paper. Press the mixture into it firmly. Use the back of a spoon or the bottom of a glass to really pack it in.
Pressing well is key—this ensures your bars don’t crumble later. If you’re feeling fancy, sprinkle some extra seeds or coconut flakes on top before pressing to give them a pretty, textured finish.
Step 5: Chill, Slice, Store
Pop it into the fridge for 1–2 hours. Once firm, cut into bars or squares. Store in an airtight container—and boom, you’ve got snacks for days.
Once set, cut into bars or squares using a sharp knife. Store them in an airtight container. They’ll stay fresh for up to two weeks
Customization Tips
Make It As Per Your Taste
-
For chocolate lovers: Add dark chocolate chunks or cacao nibs.
-
For spice fans: Try ginger powder or pumpkin spice.
-
For extra crunch: Toast your nuts first. Game changer.
-
For softer bars: Blend longer or add a splash of water or coconut oil.
-
For kids: Cut into mini squares and mix in fun add-ins like raisins or peanut butter chips.
Vegan? Gluten-Free? Sugar-Free? All Covered.
-
Swap honey for maple syrup or agave for a fully vegan energy bar.
-
Use certified gluten-free oats to keep it celiac-friendly.
-
Want no added sugar? Stick to dates and skip the syrup.
Shelf Life & Storage Tips
-
Fridge: Good for 2 weeks in an airtight container.
-
Freezer: Freeze for up to 3 months. Just thaw overnight when you're ready to munch.
In a Nutshell (Quite Literally)
Making your own energy bars is easy. It's cost-effective. It’s healthier. And it’s kind of addictive once you start experimenting. Whether you’re craving clean protein, going vegan, or just tired of overpriced store bars, this is your fix.
And when you’re choosing ingredients—start with the best.
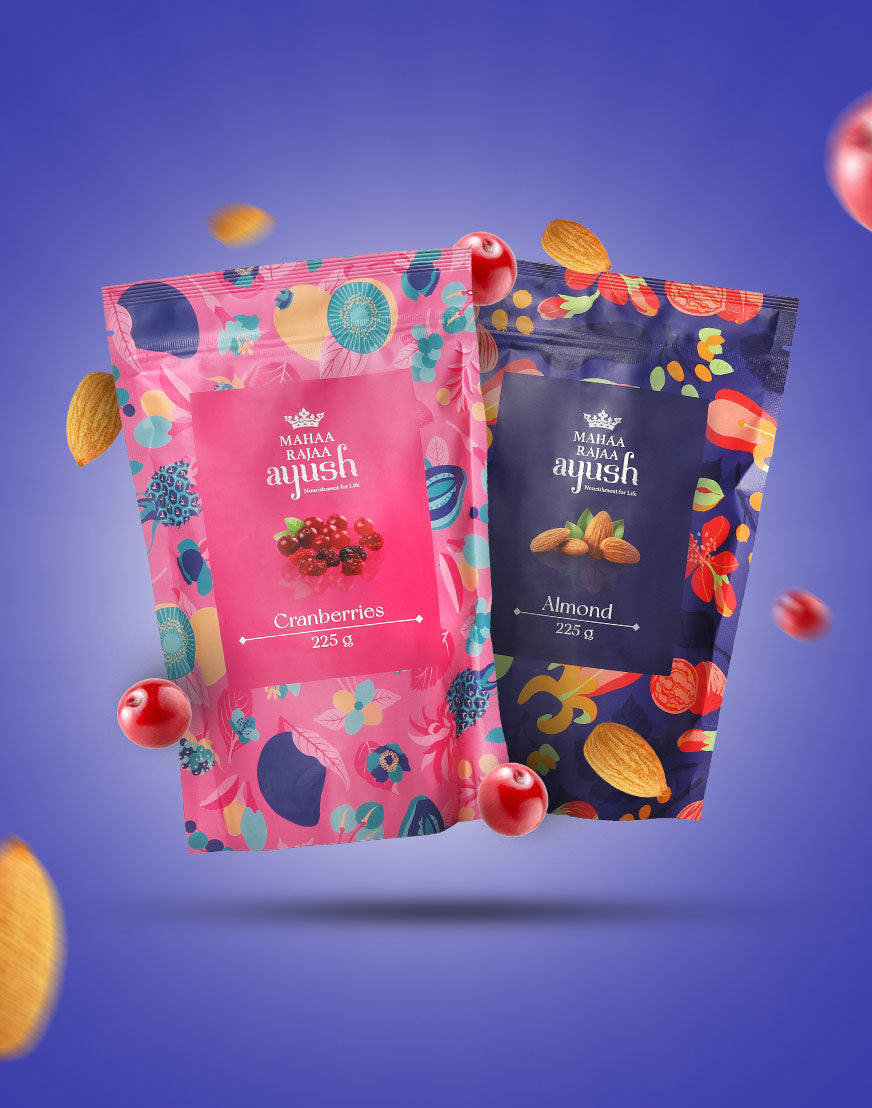
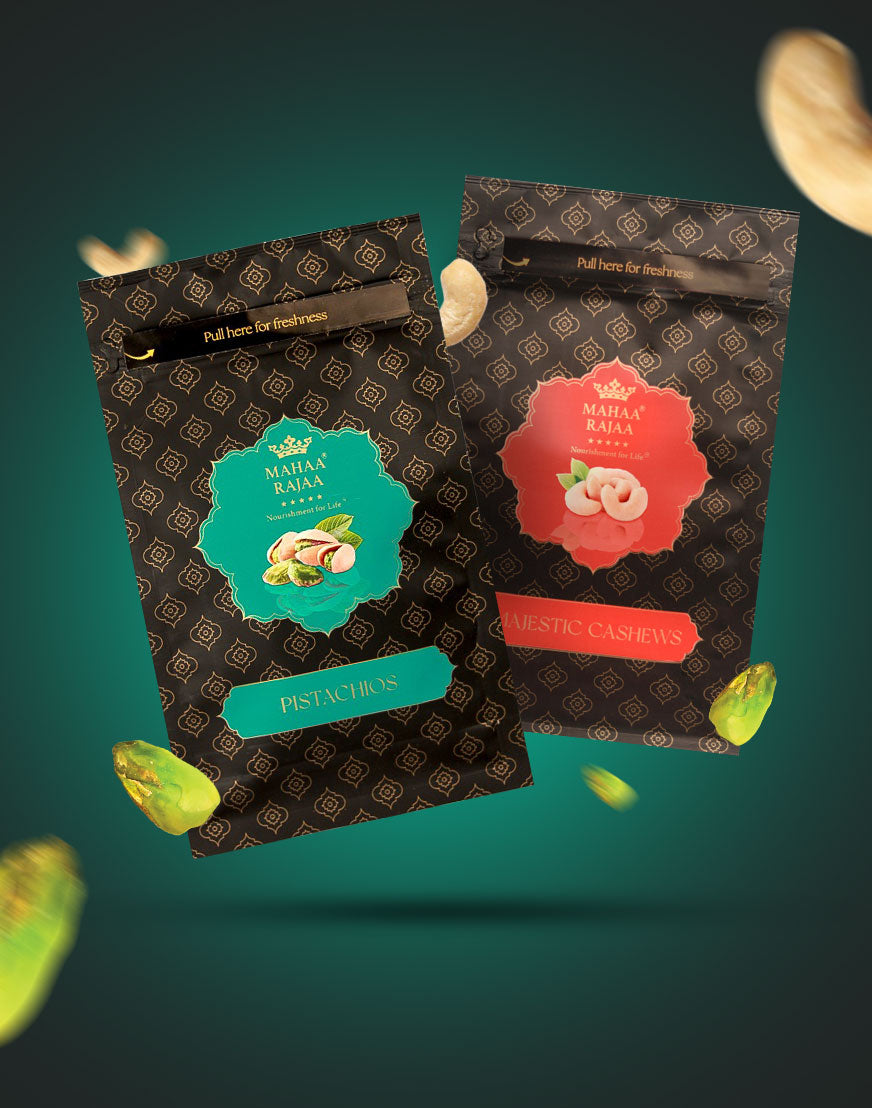
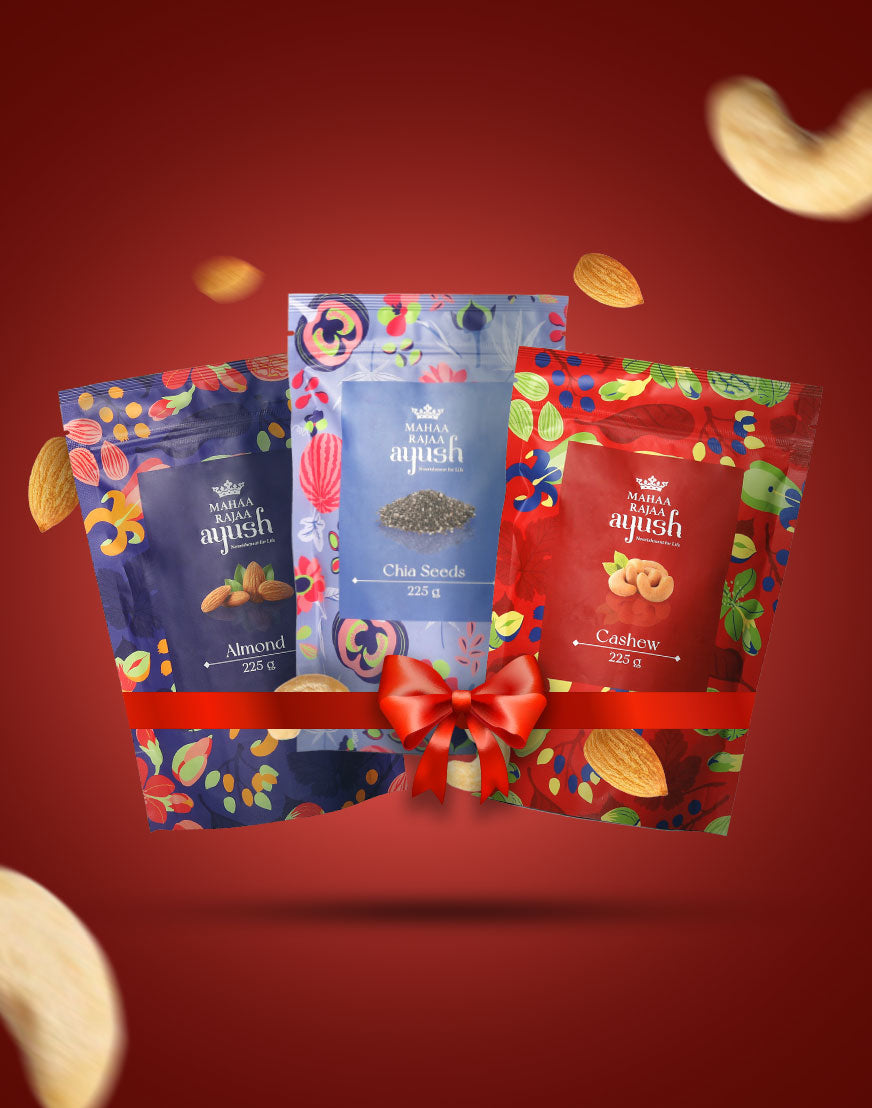
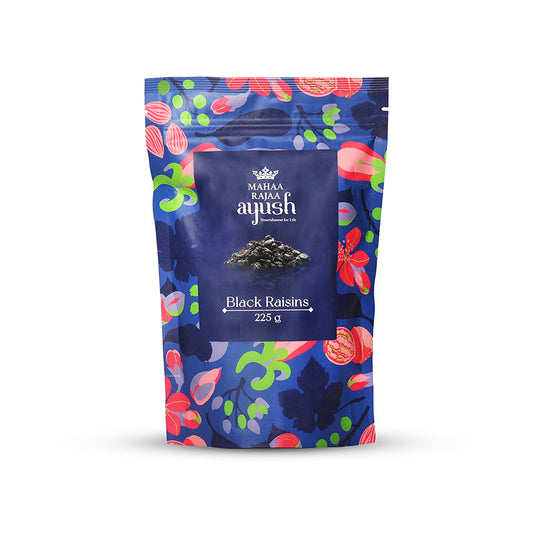
MahaaRaja’s premium cashews, seeds, and dried fruits are the real deal. Fresh. Flavorful. Always top-quality.
Because the secret to a great recipe? Starts with what you put in it.
FAQs
Q1: Are homemade energy bars healthier than store-bought ones?
Yes! You control the ingredients, avoid preservatives, and cut down on added sugars.
Q2: What are the best dried fruits to use in energy bars?
Dates, apricots, figs, and cranberries are excellent choices due to their sweetness and binding properties.
Q3: Do I need a food processor to make energy bars?
It’s highly recommended for blending, but you can chop and mix manually for a more rustic texture.
Q4: How long do homemade energy bars last?
They last up to 2 weeks refrigerated and 3 months frozen.
Q5: Can I make energy bars without nuts?
Absolutely. Use more seeds, oats, or even puffed rice as a base.
Q6: What can I use instead of dates to bind the bars?
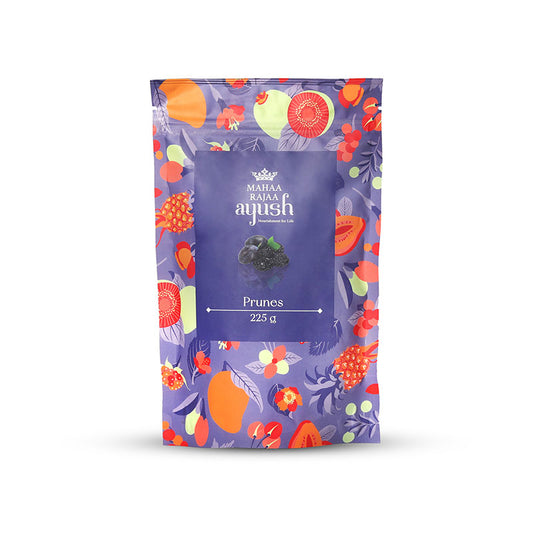
Try figs, raisins, mashed bananas, or prune puree.
Q7: Are homemade energy bars good for weight loss?
Yes, when portioned right. They offer clean energy and keep you full longer, reducing cravings.